DIY T-Shirts Made Easy: Your Guide to Using Heat Transfer Vinyl (HTV)
Want to create custom T-shirts at home like a pro? Whether you're crafting for fun or starting a small business, learn how to use heat transfer vinyl (HTV) to bring your designs to life with this beginner-friendly guide.
12/19/20242 min read


Creating your own custom T-shirts at home has never been easier—or more fun! With the help of heat transfer vinyl (HTV), you can personalize clothing for birthdays, events, holidays, gifts, or even your own apparel brand. In this guide, we’ll break down everything you need to know about using HTV, including tools, techniques, and pro tips to get crisp, long-lasting results.
What is Heat Transfer Vinyl (HTV)?
Heat transfer vinyl is a special type of vinyl material that can be cut into shapes, letters, or designs and then applied to fabric using heat and pressure—typically with a heat press or iron. It comes in a wide variety of finishes including:
Solid colors
Glitter
Holographic
Flock (fuzzy texture)
Patterned or printable HTV
What You Need to Get Started
Here’s a checklist of tools and supplies for working with HTV:
✅ Cutting Machine (like Cricut or Silhouette)
✅ HTV Sheets or Rolls
✅ Weeding Tools
✅ Heat Press or Household Iron
✅ Blank T-Shirt (cotton or cotton-blend works best)
✅ Teflon Sheet or Parchment Paper (to protect your design during pressing)
Step-by-Step: How to Use HTV on a T-Shirt
1. Create or Upload Your Design
Use design software like Cricut Design Space, Silhouette Studio, or Canva to create or import your artwork. You can also purchase ready-made SVG and PNG files from Etsy or clipart shops.
🖼 Pro Tip: Use high-quality SVGs for clean cutting lines and easy layering.
2. Mirror Your Design
Before cutting, make sure to mirror (flip horizontally) any text or images. HTV is applied upside down, so this step is crucial!
3. Cut the HTV
Place the vinyl shiny side down on your cutting mat. Load it into your machine and let it do the work.
4. Weed the Excess Vinyl
Using a weeding tool, carefully remove the extra vinyl, leaving only your design on the clear carrier sheet.
5. Position and Press
Place your weeded design on the shirt (sticky side down). Use a heat press or iron with firm pressure at around 300°F–320°F (150°C–160°C) for 10–15 seconds (check your HTV’s specific instructions).
🧼 Use a lint roller before pressing to remove dust or fibers that may prevent adhesion.
6. Peel Carefully
Once the design is pressed, peel off the carrier sheet. Some HTV requires a cool peel, while others are hot peel—check your brand for directions.
Tips for the Best HTV T-Shirts
💡 Use the Right Pressure – HTV needs firm, even pressure to bond. If using an iron, press hard and avoid steam.
💡 Wash Smart – Wait 24 hours before washing, turn shirts inside out, and use cold water to extend the life of your design.
💡 Layer Like a Pro – You can layer multiple colors of HTV, but avoid layering glitter on top of glitter. Always press in stages.
HTV Project Ideas to Try
🎉 Birthday or family reunion shirts
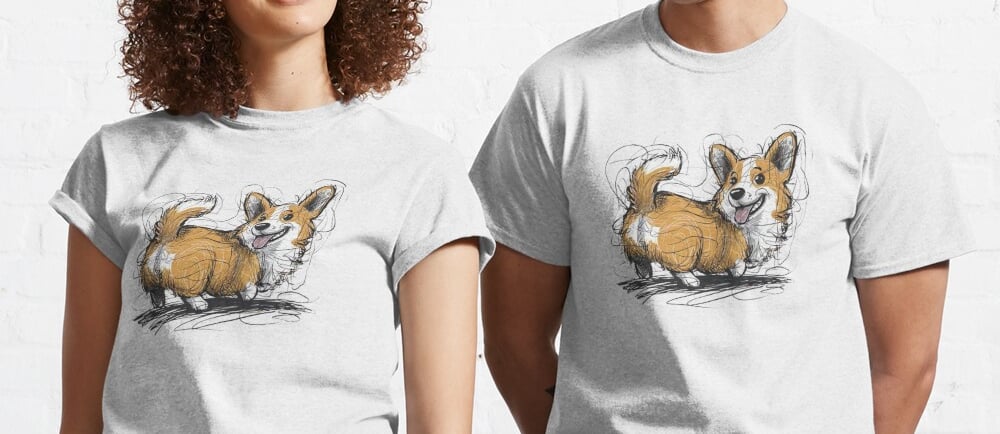
🐾 Pet-themed apparel (like "Dog Mom" or "Corgi Squad")
🖤 Trendy quotes or aesthetic T-shirts
🎓 Graduation or school spirit wear
👕 Small business merchandise or Etsy product lines
