
A Beginner’s Guide to Making Custom Stickers from Your Designs
Love creating art or digital designs? Turn your creativity into fun, personalized stickers! Whether you’re crafting for fun or launching a small sticker shop, this beginner’s guide will walk you through how to make custom stickers from your own designs—step by step.
12/18/20242 min read
Creating custom stickers is a fun and rewarding way to showcase your art, brand, or personality. From laptops to water bottles, planners, and small business packaging—custom stickers are everywhere. And the best part? You can make them at home, even as a beginner.
In this guide, we’ll cover everything you need to know about how to make custom stickers, from tools and materials to tips for printing, cutting, and selling your designs.
What You Need to Make Custom Stickers
Here’s a quick list of essential tools and supplies to get started:
✅ Your Design Files – PNGs or SVGs with transparent backgrounds
✅ Design Software – Canva, Procreate, Adobe Illustrator, or even Cricut Design Space
✅ Printer – Inkjet or laser (depending on your sticker paper)
✅ Sticker Paper – Matte, glossy, vinyl, or waterproof options
✅ Cutting Machine – Cricut, Silhouette, or scissors/X-Acto knife for manual cutting
✅ Laminator or Clear Sticker Sheets (optional for waterproofing and durability)
Step-by-Step: How to Make Custom Stickers at Home
1. Create or Import Your Design
Design your stickers using illustration apps like Procreate or Canva. Want to skip the drawing? You can use clipart bundles or licensed graphics from trusted sources—just make sure you have the right to use them.
🎯 Tip: Save your final design as a high-resolution PNG with a transparent background for the best results.
2. Format Your Sticker Sheet
Use your design software to arrange multiple stickers on one page (8.5"x11" is standard). Leave enough space between designs for cutting.
3. Print Your Stickers
Choose the right sticker paper for your printer. For best results:
Use inkjet paper for inkjet printers and laser paper for laser printers
Print in high quality or photo setting
Let the ink dry completely before handling
🖨️ Test print on regular paper before using sticker sheets to save materials.
4. (Optional) Laminate for Durability
If you want waterproof or glossy stickers, apply a laminate sheet or use a cold laminator after printing. This protects your stickers from scratches and moisture.
5. Cut Your Stickers
You can use:
A Cricut or Silhouette machine for precision and kiss-cutting
Scissors or craft knives if you’re just starting and doing simple shapes
Make sure your designs are properly aligned and cut lines are set in your software if using a cutting machine.
Types of Stickers You Can Make
🎨 Aesthetic Quote Stickers – Great for planners or water bottles
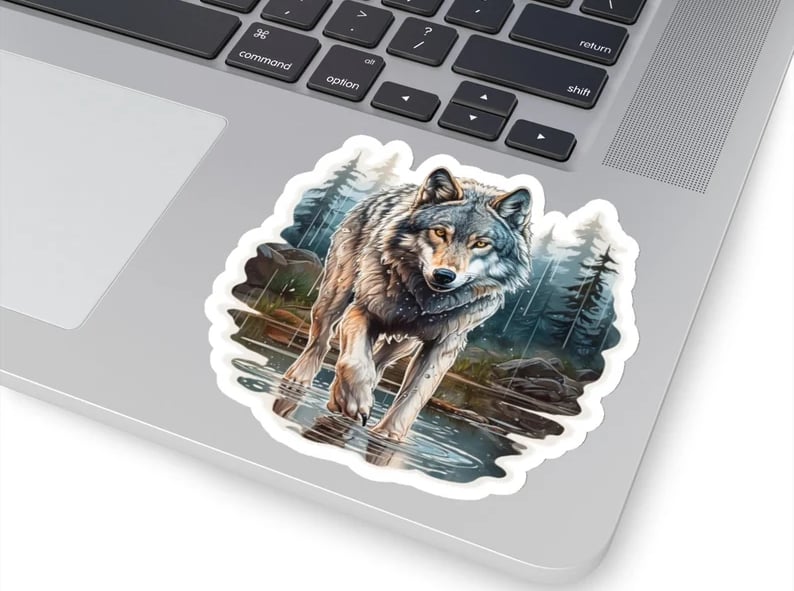
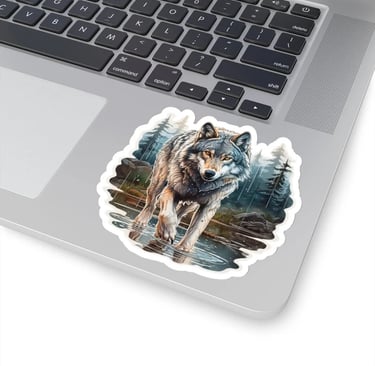
🐶 Pet & Animal Stickers – Use adorable clipart or custom illustrations
🌈 Colorful Character Stickers – Ideal for kids or sticker packs
🌸 Seasonal/Holiday Stickers – Think Halloween, Christmas, Valentine’s
🛍️ Business Packaging Stickers – “Thank you,” branding labels, logos
Where to Get Design Files and Clipart
If you don’t want to design everything from scratch, look for commercial-use clipart and SVG bundles on:
Etsy (check licensing!)
Creative Market (check licensing!)
Design Bundles
Freepik (check licensing!)
Use keywords like:
“Sticker PNG bundle”
“Printable clipart for stickers”
“Cute SVG files for Cricut stickers”
Selling Your Stickers: Tips for Etsy and Beyond
Once you’ve mastered the process, you can sell your custom stickers on:
Etsy
Shopify
Local markets
Social media platforms like Instagram or TikTok
🛍️ Use strong product titles and tags like:
“Custom vinyl sticker pack”
“Cute waterproof planner stickers”
“Aesthetic sticker sheet PNG download”